1. Java 中的框架简介
盖房子的时候搭建的架子
自己编码的时候遵循框架的约束即可
框架和工具有啥区别:
Spring 是框架,DbUtils 是工具类
工具类对代码的侵入性不高,我们可以随时的进行修改其他工具,但是其功能也都是比较弱;
框架对代码的侵入性非常高,我们使用框架的时候就在项目创建的时候就要引入,整个开发过程和框架的耦合度非常高;
原生的 web 项目开发过程:
使用 idea 创建一个 web 项目
创建 servlet,servlet 中写业务代码,组装需要数据,将数据以 json 格式输出
在 web.xml 中配置 servlet 信息
将项目部署到 tomcat 中
2. Java中的框架有哪些? 1 Struts HiberNate Spring SpringMvc SpringBoot mybatis
3. Struts2 Struts2 是一个基于 MVC 设计模式的 Web 应用框架,它本质上相当于一个 servlet,在 MVC 设计模式中,Struts2 作为控制器(Controller)来建立模型与视图的数据交互
4. HiberNate
开源的对象关系映射框架
对 jdbc 的封装的框架
与 pojo(JavaBean) 建立映射关系
5. Spring JavaBean 的管理
6. Java 企业级开发的演化
Servlet + Java Bean Servlet + Java Bean + Jsp Struts2 + Spring + HiberNate(SSH) Spring Mvc + Spring + mybatis(ibatis) (SSM) Spring Boot(下一代框架 微服务框架)
7. Spring 7.1 Spring的简介 Spring 是分层的 JavaSE/EE full-stack(一站式) 轻量级开源框架
分层:
SUN 提供的 JavaEE 的三层结构:web层、业务层(service)、数据访问层(dao)(持久层,集成层)
Struts2 是 web 层基于 MVC 设计模式框架.
Hibernate 是持久的一个 ORM 的框架.
一站式:
Spring 对 web 层提供的解决方案===>Spring Mvc
Spring 对 Service 层提供的解决方案===>Spring
Spring 对 Dao 层提供的解决方案===>Jdbc Template
常用的解决方案:
1. web (Struts2 SpringMvc)
2. service(Spring)
3. dao(DBUtils HiberNate mybatis Jdbc Template)
7.2 Spring 的核心 7.2.1 IOC(控制反转) 把对象的创建权交给Spring容器
原理
创建 Spring 容器
1
2
3
4
5
6
7
8
9
10
11
12
13
14
15
16
17
18
19
20
21
22
23
24
25
26
27
28
29
30
31
32
33
34
35
36
37
38
39
40
41
42
43
44
45
46
public class ApplicationContext { static Map<Object, Object> iocMap = new HashMap <>(); static { SAXReader saxReader = new SAXReader (); try { Document document = saxReader.read(ApplicationContext.class.getClassLoader().getResource("applicationContext.xml" )); List<Element> elementList = document.selectNodes("/beans/bean" ); for (Element beanElement : elementList) { String beanName = beanElement.attributeValue("name" ); String beanClass = beanElement.attributeValue("class" ); if (beanName == null ){ beanName = beanClass.substring(beanClass.lastIndexOf("." )+1 ); char [] chars = beanName.toCharArray(); chars[0 ]+=32 ; beanName = new String (chars); } Class<?> clazz = Class.forName(beanClass); Object o = clazz.newInstance(); List<Element> propertyElementList = beanElement.elements("property" ); if (propertyElementList != null && propertyElementList.size()>0 ){ for (Element propertyElement : propertyElementList) { String propertyName = propertyElement.attributeValue("name" ); Field declaredField = clazz.getDeclaredField(propertyName); declaredField.setAccessible(true ); declaredField.set(o,propertyElement.getStringValue()); } } iocMap.put(beanName,o); } } catch (Exception e) { e.printStackTrace(); } } public Object getInstance (String beanName) { Object o = iocMap.get(beanName); return o; } }
applicationContext.xml 配置文件
1 2 3 4 5 6 7 8 9 10 11 <beans > <bean name ="p1" class ="com.xzy.Person" > <property name ="name" > 小明</property > <property name ="age" > 18</property > </bean > <bean class ="com.xzy.Stu" > <property name ="name" > 小玉</property > <property name ="age" > 25</property > <property name ="sex" > 男</property > </bean > </beans >
实体类创建
7.2.2 AOP(面向切面编程) 是面向对象的功能延伸。不是替换面向对象,是用来解决 OOP(面向对象编程)中一些问题。
7.3 Spring的版本 spring3.x
spring4.x
spring5.x(推荐使用)
7.4 Spring的优点
方便解耦,简化开发
把所有对象的创建交给 Spring 管理
支持 Aop 编程
解决在 OOP 中遇到的一些问题
声明式事务的支持
方便调试程序
在 spring 中有专门的调试模块 Spring-Test
方便集成各种优秀的框架
Spring 对各种主流的框架都提供了支持
Spring 对一些比较难用的 API 都进行了封装,方便了程序猿的使用(邮件 远程调用….)
7.5 日志框架 1 2 3 4 5 6 log4j:开源的优秀的日志框架 .......... 日志门面:运行这些日志系统的 slf4j logging (apache的日志门面)
1 2 3 4 Log log4j = LogFactory.getLog(TestLog.class);log4j.info("info" ); log4j.debug("debug" ); log4j.error("error" );
日志的级别:
1 2 3 4 1. debug 2. info 3. warn 4. error
7.6 Spring 的入门 7.6.1 pom 依赖 1 2 3 4 5 6 7 8 9 10 11 12 13 14 15 16 17 18 19 20 21 22 23 24 <dependency > <groupId > org.springframework</groupId > <artifactId > spring-beans</artifactId > <version > 4.3.10.RELEASE</version > </dependency > <dependency > <groupId > org.springframework</groupId > <artifactId > spring-core</artifactId > <version > 4.3.10.RELEASE</version > </dependency > <dependency > <groupId > org.springframework</groupId > <artifactId > spring-expression</artifactId > <version > 4.3.10.RELEASE</version > </dependency > <dependency > <groupId > org.springframework</groupId > <artifactId > spring-context</artifactId > <version > 4.3.10.RELEASE</version > </dependency >
7.6.2 创建 log4j 的配置文件 log4j.properties
1 2 3 4 5 6 log4j.appender.stdout =org.apache.log4j.ConsoleAppender log4j.appender.stdout.Target =System.out log4j.appender.stdout.layout =org.apache.log4j.PatternLayout log4j.appender.stdout.layout.ConversionPattern =%d{ABSOLUTE} %5p %c{1}:%L - %m%n log4j.rootLogger =debug, stdout
7.6.3 创建 Spring 的配置文件 在 resources 目录下创建 applicationContext.xml
引入 XML 的约束:
1 2 3 4 5 6 7 8 9 <?xml version="1.0" encoding="UTF-8" ?> <beans xmlns ="http://www.springframework.org/schema/beans" xmlns:xsi ="http://www.w3.org/2001/XMLSchema-instance" xsi:schemaLocation ="http://www.springframework.org/schema/beans http://www.springframework.org/schema/beans/spring-beans.xsd" > <bean id ="user" class ="com.uplooking.spring.ops1.User" > </bean > </beans >
7.6.4. 使用 ApplicationContext 创建对象 1 2 3 4 5 ApplicationContext applicationContext = new ClassPathXmlApplicationContext ("applicationContext.xml" ); User user = (User) applicationContext.getBean("user" ); System.out.println(user);
注意:
Spring 中加载日志配置文件的顺序 “Spring自带的log4j的配置优先”
Spring中的自带的日志系统的隔离级别为info
7.7 ApplicationContext BeanFactory 的区别
applicationContext 继承自 BeanFactory
在老版本的 Spring 中使用的是 BeanFactory,在新版本的 Spring 中使用 ApplicationContext
BeanFactory 会在调用 getBean 时候实例化对象 ApplicationContext 会在容器加载时把 Spring 容器管理的所有的 Bean 实例化(仅对scope=”singleton”有效)
8. bean 中的 name 和 id 属性
name 与 id 都是用来给 Spring 管理的对象命名的
id 遵循的是 xml 的规范(唯一)
name 可以配置多个(name=”user,user2,user3”)
name 可以出现特殊字符,id 不能出现特殊字符
一般使用 id 即可
9. Spring 管理对象的创建的方式 9.1 使用构造器创建对象(默认) 1 2 3 4 5 6 7 8 class User { public User () { System.out.println("构造方法..." ); } } <!--默认使用无参数的构造器来创建对象的--> <bean id="user" class="com.uplooking.spring.ops1.User" > </bean>
9.2 使用静态工厂创建对象 1 2 3 4 5 6 7 public class UserFactory { public User static newInstance () { return new User (); } } <!--使用静态工厂实例化对象--> <bean id="user" class="com.uplooking.spring.ops1.UserFactory" factory-method="newInstance" ></bean>
9.3 使用实例工厂创建对象 1 2 3 4 5 6 7 8 public class UserFactory { public User newInstance () { return new User (); } } <!--使用实例工厂来创建对象--> <bean id="userFactory" class="com.uplooking.spring.ops1.UserFactory" ></bean> <bean id="user" factory-bean="userFactory" factory-method="newInstance" ></bean>
关于 applicationContext.getBean (“bean的名称”) 的问题:
bean的名称为,在xml中配置的 id,或者 name 属性的值
如果我们在xml中不对bean的 name 或者 id 进行注册,那么默认的name为 “全类名”
10. 属性的注入(DI) DI:依赖注入 ==>在对象的创建过程中给属性赋值
1 2 3 <constructor-arg name ="name" value ="小花" > </constructor-arg > <constructor-arg name ="age" value ="23" > </constructor-arg >
1 2 3 <property name ="name" value ="admin" > </property > <property name ="userDao" ref ="userDao" > </property >
在实际开发过程中推荐使用 setter 方法注入的方式
11. IOC与DI的区别 IOC和DI是没有什么关系的; 一个是转移对象的创建权,一个是注入属性,要是非得扯上一点点关系(DI是在IOC的过程中进行的)
IOC:把对象的创建权交给 Spring 容器
DI:创建对象时注入对象的属性
12. Bean的作用范围 scope="singleton",表示的是单实例对象,全局创建一个实例
scope="prototype",表示的是多实例对象,当 ApplicationContext 调用getBean()创建对象时,每调用一次创建一个对象
注意: 容器初始化的时候 "Spring 只会帮我们创建 scope=singleton 的对象"
设置 scope 值是 singleton 时候,加载 spring 配置文件时候就会创建单实例对象
设置 scope 值是 prototype 时候,不是在加载 spring 配置文件时候创建对象,在调用getBean方法时候创建多实例对象
13. Bean 的初始化和销毁 1 2 3 4 5 6 7 8 9 10 11 12 13 public class User { public void init () { System.out.println("初始化方法...init()" ); } public void destory () { System.out.println("销毁方法....destory()" ); } <bean id="user" class="com.xzy.spring.ops1.User" scope="singleton" init-method="init" destroy-method="destory" /> ClassPathXmlApplicationContext applicationContext = new ClassPathXmlApplicationContext ("applicationContext.xml" );applicationContext.close();
14. Bean 的生命周期(了解) 从对象的创建到销毁的过程。 而 Spring 中的一个 Bean 从开始到结束经历很多过程,但总体可以分为**六个阶段 Bean 定义、实例化、属性赋值、初始化、生存期、销毁**。
instantiate bean 对象实例化(如果scope="singleton"时,在容器加载时创建实例)
封装属性(DI)调用 setter 方法
如果存在类实现 BeanPostProcessor(初始化之前执行),执行 postProcessBeforeInitialization (aop的底层)调用< bean init-method=”init” > ,指定初始化方法 init
如果存在类实现 BeanPostProcessor(初始化之后执行),执行postProcessAfterInitialization
执行业务代码
配置了 < bean destory-method=”destory” >,指定销毁方法
15. DI 的复杂属性的注入 1. 普通的字面量的注入 1 2 3 4 <bean id ="user" class ="com.uplooking.spring.ops1.User" /> <property name ="name" value ="小花" /> <property name ="age" value ="23" /> </bean >
2. 对象注入 1 2 3 4 <bean id ="orders" class ="com.uplooking.spring.ops1.Orders" > <property name ="user" ref ="user" /> </bean >
3. Map 的注入 1 2 3 4 5 6 7 8 9 10 11 <bean id ="user" class ="com.uplooking.spring.ops1.User" > <property name ="name" value ="小花花" > </property > <property name ="age" value ="17" > </property > <property name ="map" > <map > <entry key ="k1" value ="v1" /> <entry key ="k2" value ="v2" /> <entry key ="k3" value ="v3" /> </map > </property > </bean >
4. List 的注入 1 2 3 4 5 6 7 8 9 10 11 <bean id ="user" class ="com.uplooking.spring.ops1.User" > <property name ="name" value ="小花花" > </property > <property name ="age" value ="17" > </property > <property name ="loves" > <list > <value > java</value > <value > c++</value > <value > c</value > </list > </property > </bean >
5. List 中存放对象 1 2 3 4 5 6 7 8 9 <bean id ="orders" class ="com.uplooking.spring.ops1.Orders" > </bean > <bean id ="user" class ="com.uplooking.spring.ops1.User" > <property name ="ordersList" > <list > <ref bean ="orders" /> </list > </property > </bean >
16. 打开 IDEA 的自动编译
1 settings-->build-->compiler-->Build project automatically
1 help-->find action-->registry-->compile.automake.allow.when.app.running
IDEA2021.3.x之后不再使用以上方式进行配置了;
17. Spring 装配 Bean 的方式 Spring 装配 Bean 其实就是 Spring 管理我们的 Bean 的方式;
17.1 使用 xml 装配 Bean 1 <bean name ="userService" class ="com.uplooking.spring.UserService" > </bean >
17.2 使用注解装配 Bean 1 2 3 4 5 1 >使用`@Component `注解来描述bean代替<bean class="com.uplooking.spring.UserService" ></bean> 2 >使用`@Component("userService") `注解来描述bean代替<bean id="userService" class="com.uplooking.spring.UserService" ></bean>
eg:
1 2 3 4 5 6 @Component("userService") public class UserService { public void addUser () { System.out.println("UserService...add()" ); } }
如果直接使用会出现找不到 Bean 的问题,我们需要让 Spring 容器来认识这些注解,则需要配置注解扫描器
1 2 3 4 5 6 7 8 9 10 11 <?xml version="1.0" encoding="UTF-8" ?> <beans xmlns ="http://www.springframework.org/schema/beans" xmlns:xsi ="http://www.w3.org/2001/XMLSchema-instance" xmlns:context ="http://www.springframework.org/schema/context" xsi:schemaLocation ="http://www.springframework.org/schema/beans http://www.springframework.org/schema/beans/spring-beans.xsd http://www.springframework.org/schema/context http://www.springframework.org/schema/context/spring-context.xsd" > <context:component-scan base-package ="com.uplooking.spring" /> </beans >
使用无 xml 的方式开发 spring 应用
1 2 3 ApplicationContext applicationContext = new AnnotationConfigApplicationContext ("com.xzy" );Object p = applicationContext.getBean("person" );System.out.println(p);
18. Spring 依赖注入的方式 18.1 使用 XML 注入属性 1 2 3 4 <bean id ="userService" class ="com.uplooking.spring.UserService" > <property name ="userDao" ref ="userDao" > </property > </bean > <bean id ="userDao" class ="com.uplooking.spring.UserDao" />
18.2 使用注解注入属性(推荐使用) 18.2.0 注入普通的字面量值 1 2 @Value("小明") private String name;
18.2.1 按类型注入 1 2 3 4 5 6 @Repository public class UserDao { public void insert () { System.out.println("UserDao...inset().." ); } }
1 2 3 4 5 6 7 8 9 10 @Service("userService") public class UserService { @Autowired private UserDao userDao; public void addUser () { userDao.insert(); } }
18.2.2 按名称注入 1 2 3 4 5 6 @Repository("userDao") public class UserDao { public void insert () { System.out.println("UserDao...inset().." ); } }
1 2 3 4 5 6 7 8 9 10 11 @Service("userService") public class UserService { @Autowired @Qualifier("userDao") private UserDao userDao; public void addUser () { userDao.insert(); } }
按类型注入和按名称注入,如果注入的是普通的类的对象是没有任何区别的。如果注入的是接口类型,抽象类类型的对象 ,按名称注入可以注入唯一的一个对象,按类型注入有可能注入多个对象,则会出错;
19. XML 与注解的选择
在注解还没有提出之前只能使用 xml 的方式(spring1.0)
spring2.0 时已经在Spring中出现使用注解装配对象和注入属性的方式
spring3.0 时,官方已经强烈推荐使用注解开发
spring4.0 中,官方已经明确说明,xml的方式在新版本中有可能被移除
spring5.0 中,完全不使用xml了
现在的开发方式已经是纯注解(注解开发简单)—->现在 SpringBoot 脚手架开发使用注解是非常方便的;
ps:在后面的开发过程中建议尽量使用纯注解开发
20. 使用纯注解开发Spring 入口类:
1 2 3 4 5 6 7 8 9 public class Main { public static void main (String[] args) { ApplicationContext applicationContext = new AnnotationConfigApplicationContext ("com.xzy.spring" ); Object bean = applicationContext.getBean("userService" ); UserService userService = (UserService) bean; userService.save(); } }
UserService.java
1 2 3 4 5 6 7 8 9 @Service public class UserService { @Autowired private UserDao userDao; public void save () { userDao.add(); } }
UserDao.java
1 2 3 4 5 6 @Repository public class UserDao { public void add () { System.out.println("userdao.....add" ); } }
21. Spring中注解的方式装配 Bean 1 2 3 4 5 @Component @Service : 业务层的等效注解@Repository : 数据方访问层的等效注解@Controller : 控制层的等效注解@Configuration : 配置类的等效注解
以上这四种大家都已经学过了,现在我给大家说一种高级用法;
1 2 3 4 5 @Bean public BookDao bookDao1 () { return new BookDao (); } 注意: @Bean 会把当前方法的执行的返回值交给Spring容器管理,此对象的名称可以在@Bean 中指定,不指定默认是方法的名称 eg: "bookDao1"
在上面的基础上再来一个骚操作:
1 2 3 4 5 6 @Bean public BookDao bookDao1 (@Qualifier("user") User user) { System.out.println(user); return new BookDao (); } 注意: @Bean 注入对象时,因为 Spring 要调用这个方法,如果包含形参,Spring会自动按类型注入,当然也可以自定义按名称进行注入; @Qualifier("xxx")
22. Spring 与 Junit 的整合(基于 Xml 配置方式) 22.1 导入依 赖 1 2 3 4 5 6 7 8 9 10 11 12 <dependency > <groupId > junit</groupId > <artifactId > junit</artifactId > <version > 4.12</version > </dependency > <dependency > <groupId > org.springframework</groupId > <artifactId > spring-test</artifactId > <version > 4.3.10.RELEASE</version > </dependency >
22.2 在单元测试类使用注解 1 2 3 4 5 6 7 8 9 10 11 @RunWith(SpringRunner.class) @ContextConfiguration("classpath:applicationContext.xml") public class UserServiceTest { @Autowired private UserService userService; @Test public void testAdd () { userService.addUser(); } }
23. Spring 整合单元测试(基于注解方式) pom依赖:
1 2 3 4 5 6 7 8 9 10 11 12 <dependency > <groupId > org.springframework</groupId > <artifactId > spring-test</artifactId > <version > 5.3.16</version > </dependency > <dependency > <groupId > junit</groupId > <artifactId > junit</artifactId > <version > 4.12</version > </dependency >
创建一个Spring的配置类,让其去扫描我们指定的包;
SpringConfig.java
1 2 3 4 5 6 7 8 9 10 11 package com.xzy.spring.config;import org.springframework.context.annotation.ComponentScan;import org.springframework.context.annotation.Configuration;import org.springframework.stereotype.Component;import org.springframework.stereotype.Service;@ComponentScan(basePackages = "com.xzy.spring") @Configuration public class SpringConfig {}
1 2 3 4 5 6 7 8 9 10 11 12 @RunWith(SpringRunner.class) @ContextConfiguration(classes = SpringConfig.class) public class UserServiceTest { @Autowired private UserService userService; @Test public void testSave () { userService.save(); } }
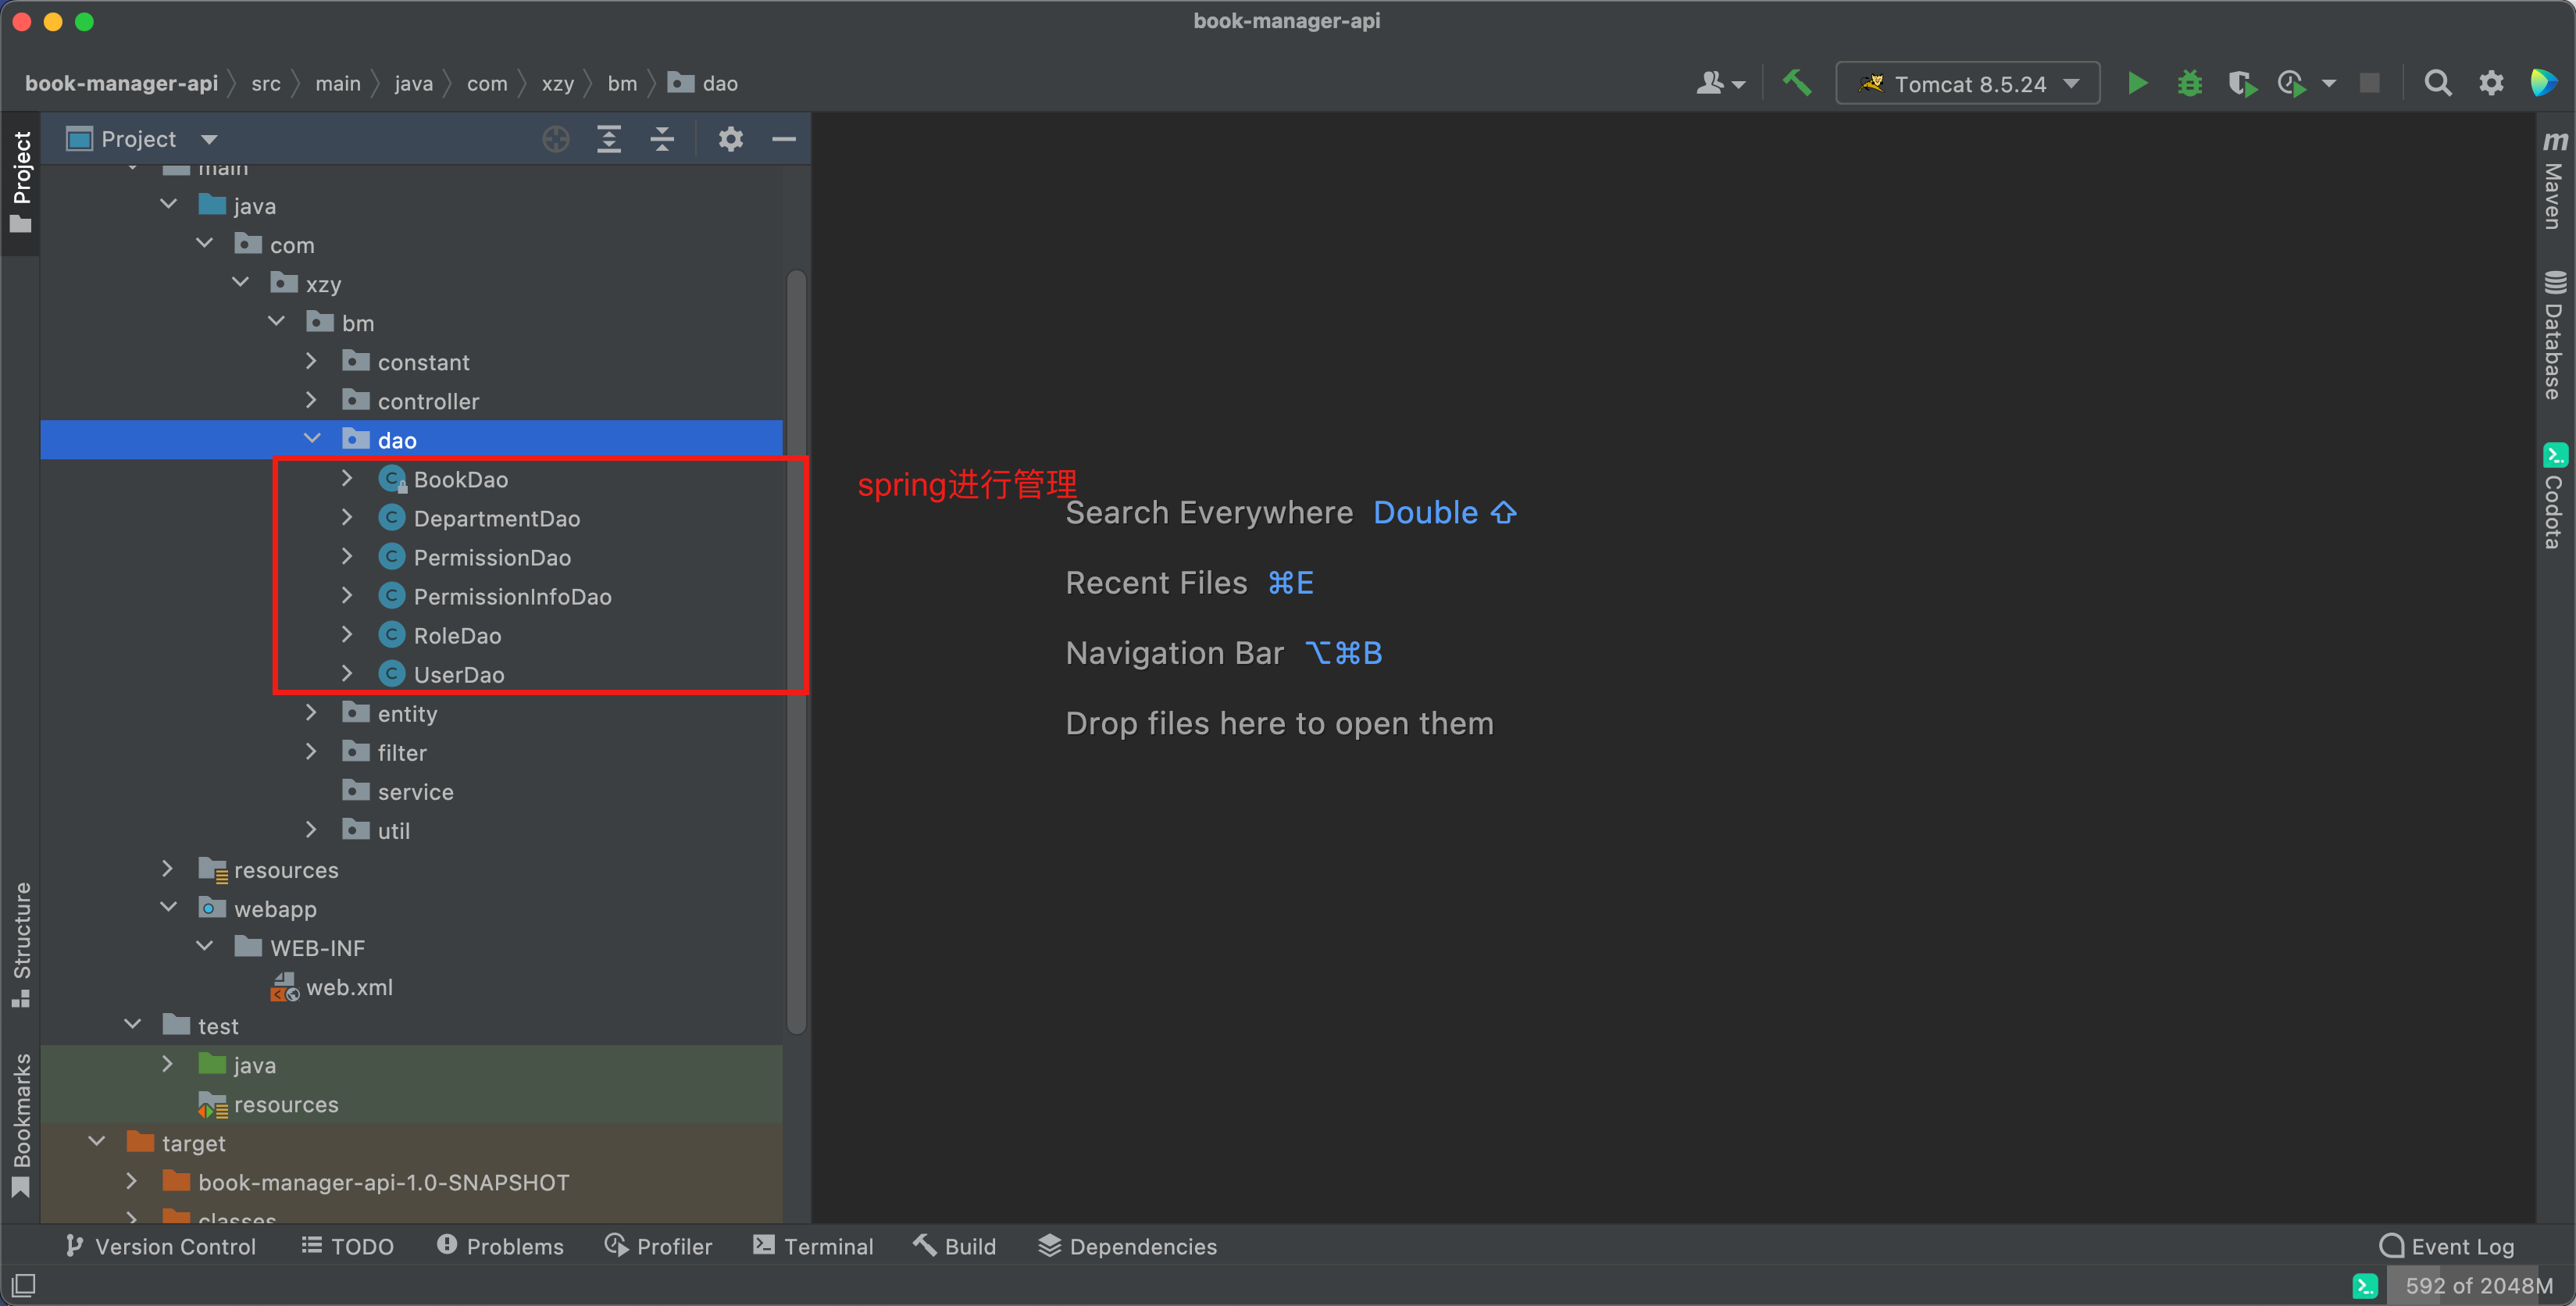
24. 在实际项目中哪些对象需要交给Spring管理
实体类(不会交给 Spring 管理),因为实体类是用来封装数据的,Spring 管理的对象一般都是单例的;
Servlet 也不会交给 Spring 管理(Servlet 是由 Tomcat 来创建)
Spring 容器要在什么时候创建?
监听 ServletContext 的创建,在 ServletContext 创建时,初始化 Spring 容器,把创建的容器放入到 ServletContext 的域中;
25. Spring 与 web 整合(了解) 原始的 web 应用存在那些问题?
引入 Spring 到 web 项目中的目的,让 Spring 管理我们项目中的对象,注入对象中的属性—>IOC DI
25.1 导入pom依赖 1 2 3 4 5 6 7 8 9 10 11 <dependency > <groupId > org.springframework</groupId > <artifactId > spring-web</artifactId > <version > 4.3.10.RELEASE</version > </dependency > <dependency > <groupId > javax.servlet</groupId > <artifactId > javax.servlet-api</artifactId > <version > 4.0.1</version > </dependency >
25.2 创建原生的web项目 entity.Book
1 2 3 4 5 6 7 8 9 10 11 12 13 14 15 16 17 18 19 20 21 22 23 24 25 26 27 28 29 30 31 32 33 34 35 36 public class Book { private Integer id; private String name; public Book () { } public Integer getId () { return id; } @Override public String toString () { return "Book{" + "id=" + id + ", name='" + name + '\'' + '}' ; } public void setId (Integer id) { this .id = id; } public String getName () { return name; } public void setName (String name) { this .name = name; } public Book (Integer id, String name) { this .id = id; this .name = name; } }
dao.BookDao
1 2 3 4 5 6 7 8 public class BookDao { public Book findBookById (Integer id) { Book book = new Book (); book.setId(id); book.setName("西游记" ); return book; } }
service.BookService
1 2 3 4 5 6 7 public class BookService { BookDao bookDao = new BookDao (); public Book findBookById (Integer id) { return bookDao.findBookById(id); } }
controller.Servlet01
1 2 3 4 5 6 7 8 9 10 11 @WebServlet("/servlet01") public class Servlet01 extends HttpServlet { @Override protected void doGet (HttpServletRequest req, HttpServletResponse resp) throws ServletException, IOException { resp.setContentType("application/json;charset=utf-8" ); Integer id = Integer.valueOf(req.getParameter("id" )); BookService bookService = new BookService (); Book book = bookService.findBookById(id); resp.getWriter().write(JSON.toJSONString(book)); } }
25.3 底层实现 applicationContext.xml
1 2 <bean name ="bookDao" class ="com.ysy.web.dao.BookDao" > </bean > <bean name ="bookService" class ="com.ysy.web.service.BookService" > </bean >
listener.MyServletContextListener
1 2 3 4 5 6 7 8 9 10 11 12 13 14 @WebListener public class MyServletContextListener implements ServletContextListener { @Override public void contextInitialized (ServletContextEvent sce) { String configLocation = "/applicationContext.xml" ; ClassPathXmlApplicationContext applicationContext = new ClassPathXmlApplicationContext (configLocation); sce.getServletContext().setAttribute("MyApplicationContext" , applicationContext); } @Override public void contextDestroyed (ServletContextEvent sce) { } }
使用注解或web.xml注册监听器
1 2 3 4 5 6 7 <listener > <listener-class > org.springframework.web.context.ContextLoaderListener</listener-class > </listener > <context-param > <param-name > contextConfigLocation</param-name > <param-value > classpath:applicationContext.xml</param-value > </context-param >
servlet.servler01
1 2 3 4 5 6 7 8 9 10 11 12 @WebServlet("/servlet01") public class Servlet01 extends HttpServlet { @Override protected void doGet (HttpServletRequest req, HttpServletResponse resp) throws ServletException, IOException { resp.setContentType("application/json;charset=utf-8" ); Integer id = Integer.valueOf(req.getParameter("id" )); ApplicationContext applicationContext = (ApplicationContext) getServletContext().getAttribute("MyApplicationContext" ); BookService bookService = (BookService) applicationContext.getBean("bookService" ); Book book = bookService.findBookById(id); resp.getWriter().write(JSON.toJSONString(book)); } }
25.4 基于注解的容器初始化 交给 spring 管理的对象要使用注解
listener.MyServletContextListener
1 2 3 4 5 6 7 8 9 10 11 12 13 14 15 @WebListener public class MyServletContextListener implements ServletContextListener { @Override public void contextInitialized (ServletContextEvent sce) { String basePackages = sce.getServletContext().getInitParameter("basePackages" ); ApplicationContext applicationContext = new AnnotationConfigApplicationContext (basePackages); sce.getServletContext().setAttribute("MyApplicationContext" , applicationContext); } @Override public void contextDestroyed (ServletContextEvent sce) { } }
service.BookService 注入BookDao时要使用注解
1 2 3 4 5 6 7 8 @Service public class BookService { @Autowired BookDao bookDao = new BookDao (); public Book findBookById (Integer id) { return bookDao.findBookById(id); } }
25.5 spring自带的容器初始化 自带的 listener
1 2 3 <listener > <listener-class > org.springframework.web.context.ContextLoaderListener</listener-class > </listener >
26. 自定义监听器实现web整合(重要)
基于 xml 的容器初始化(不常用)
基于注解的容器初始化
27. 图书管理系统改造成基于Spring的项目
在什么时候初始化容器
项目启动时(自己编写监听器)